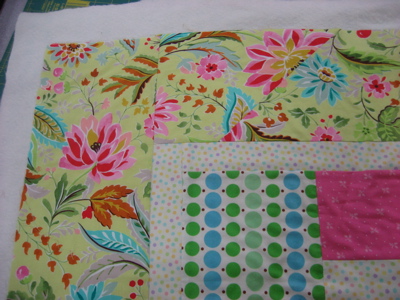
Once the quilt top was pieced and the borders added, it was time to piece the backing. I decided to use the same green and blue dot fabric for my backing with the hopes that it would be a nice contrast to the heavy florals on top. We used a spray adhesive (that I had no idea even existed!) to baste the top, the batting and the backing together with no pins and no hand sewing. The little sandwich looked like this:
You can see the batting sticking out around the edges. You use this overhang to help square up your quilt once all the quilting is done...which is what we did next:
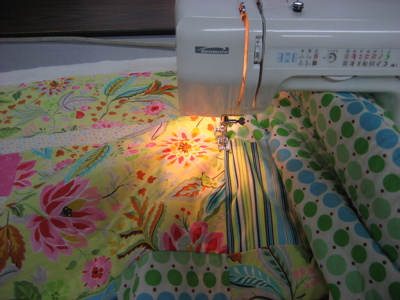
We stitched in the ditch in a radiating pattern from the center out to the inner border. We then went inside the quilt and stitched around all the small pieced squares. This particular batting is apparently pretty nice and had a pretty wide quilt line recommendation - I think 6 inches apart. The quilting line requirement is related to the stability of the batting. If it is weaker batting (i.e. may pull apart or bunch up with wear and wash), closer quilting lines are usually recommended to compensate.
Because we had 12 inch blocks, each of us were able to pick a stitching 'method' that would accent our individual quilts best and close the gap between stitch lines. My teacher had the great idea of me using the vines and leaves in my florals to trace with my quilting lines. I loved the idea and followed that method across for each 12 inch block and throughout my outer border.
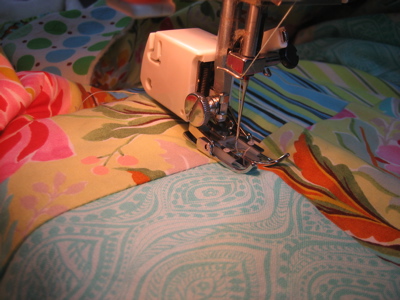
We also used the groovy device above to help keep an even pressure on all of the quilting layers while we stitched. It's a pressure foot and compresses the materials together as it moves under the needle. It helps to reduce the puckering you would see on the back of a quilt with uneven tension of the feed dogs and a regular foot. (However, this puckering is not to be mistaken with the crinkly look of a washed cotton quilt...that texture is fully intensional and often times desired!)
Once all of our quilting was done, we squared up our quilt by cutting off the extra batting and backing in an even width around the entire quilt. We then learned about attaching the binding. 'Squaring and binding night' was probably the most technique-intensive class out of the 6 class series. Our teacher had us practice our bindings on scrap pieces about the size of a potholder. Once we had the basics down, we moved on to our quilt and machine stitched the binding to the front. We then pulled the binding over the edge and hand stitched the edge down on the back.
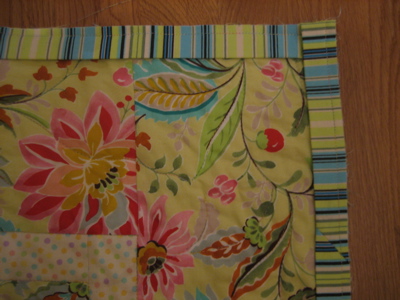
This is what mine looked like before I sewed it down on the back. (Just pretend the corner is square please. ;-) The hand sewing we finished at home. I finished my class last Wednesday and over Thursday and Saturday evening had the binding all done.
Now that we are finished, I'm really going to miss going to class. We had a great group of students and everyone had a great time. You can see a few of the other examples of quilts from our class here at the Sowing Sisters blog. However, I also wanted to show you a peak of the quilt from my favorite class companion, my mom!
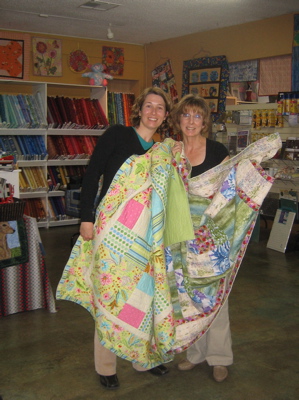
We've never had a chance to do anything like this together and since the class was in her neck of the woods and during the evening (easier for her to get away since she cares for my 92 year old grandma), it was really a perfect opportunity. We had a great time and had a nice little tradition of getting a bite to eat each night before class. This weekly time with her will definitely be what I miss the most. But all good things must come to an end and I will have finished object photos to show you soon!
3 comments:
Yay! I'm so glad you had fun, and how cool that you got to take the class with Mom. Both quilts look great!
Oh the anticipation! I want to see the finished quilt! I bet it rocks.
It's looking gorgeous already!
Post a Comment