First up, I made a couple pairs of cloth baby shoes. I was originally inspired by these since I had scraps of the same line of Heather Ross fabrics leftover from this quilt. The inspiration shoes use this tutorial, which looks like it puts out a very nicely made finished project. However, since my scraps were smaller than I thought and I didn't have any of the fleecy stuff for the soles, I ended up using the tutorial here for 3-seam baby footies.
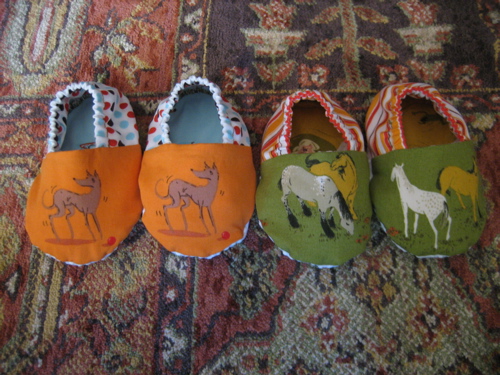
The finished product
I also wanted to show photos of the insides, since I added little 'details' with some of the smaller-scale images on the fabric:
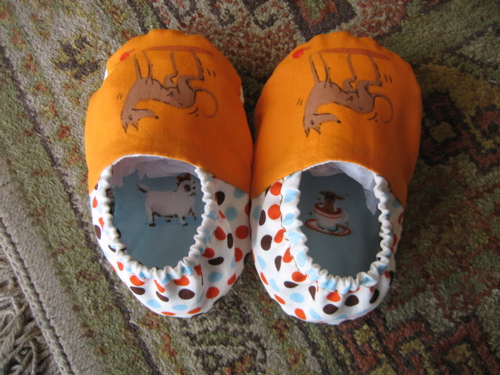
"Leetle Doggies"
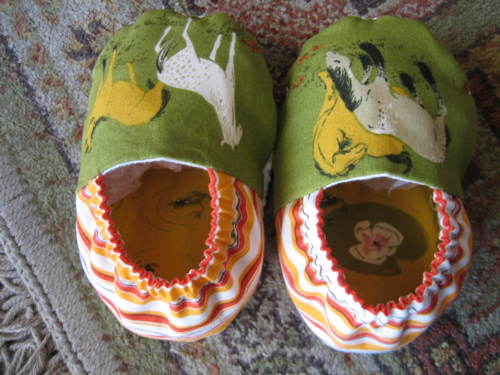
"Leetle Froggies"
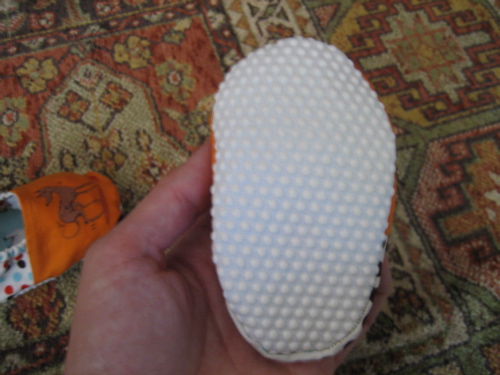
These came together really easy and I was able to use stash for everything but the gripper fabric for the bottom of the shoes, which I had purchased on sale when I originally thought I would be making the other cloth shoes. (I'm notorious for only reading instructions half way, I read about the gripper fabric but not the fleecy stuff and I didn't feel like going back to the fabric store right then.) I still plan to make the original shoes, but I also want to make some like the booties from the Little Stitches book. You can see some nice ones here.
I also made a bunch of bibs out of scraps from various projects. I followed this tutorial. In some cases, I even sewed fabric scraps together to make pieces big enough to make the bib front or back pieces. Here are the fronts:
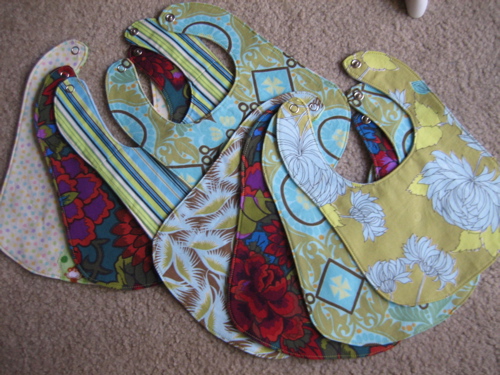
And I matched each front fabric with a back piece of flannel in one of these three prints as best I could:

The only cost associate with the bibs was the remnant of monkey flannel I bought for $2 (I'm a sucker for monkeys :) and the pack of snaps...The snaps are key by the way. I opted for the hammer-in kind and I'm glad I did. They look more 'professional' and seem like they will actually hold up to lots of on and off tugging and use.
Anyway, that's all for now. I'm currently looking into tutorials for baby slings and hope to have one worked up pretty soon.